LeMaker Documentation
About this documentation
This site publishes practical documentation for single-board computers (SBCs), ARM Linux systems, and edge computing platforms. Every page focuses on repeatable checks, clear assumptions, and step-by-step procedures you can verify directly from a terminal session. Setting up a first Banana Pi, deploying a HiKey960 for development work, or chasing a boot failure on a Banana Pro - each has its own guide, with real commands and expected outputs rather than vague hand-waving.
LeMaker hardware has been used by developers, educators, and hobbyists worldwide across projects ranging from home automation and media centres to edge AI and network appliances. This documentation consolidates the institutional knowledge built up through years of community deployment, so both first-time users and experienced builders can get to stable, reproducible results without starting from scratch.
For background on modern web transport, see this guide to HTTP/3 and QUIC explained.
Supported hardware platforms
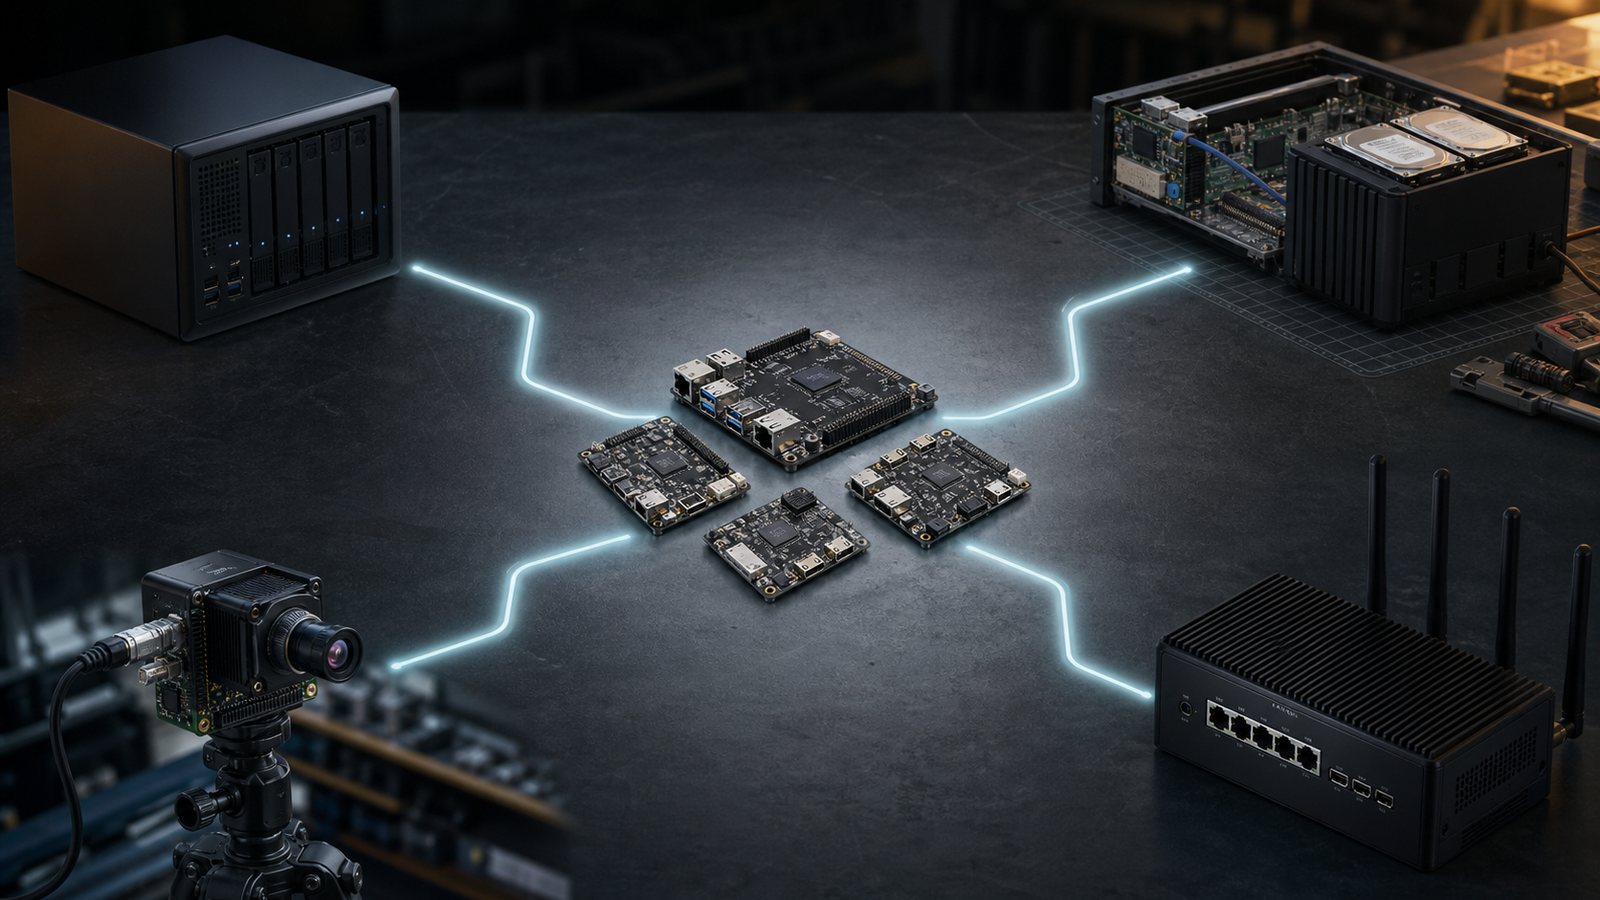
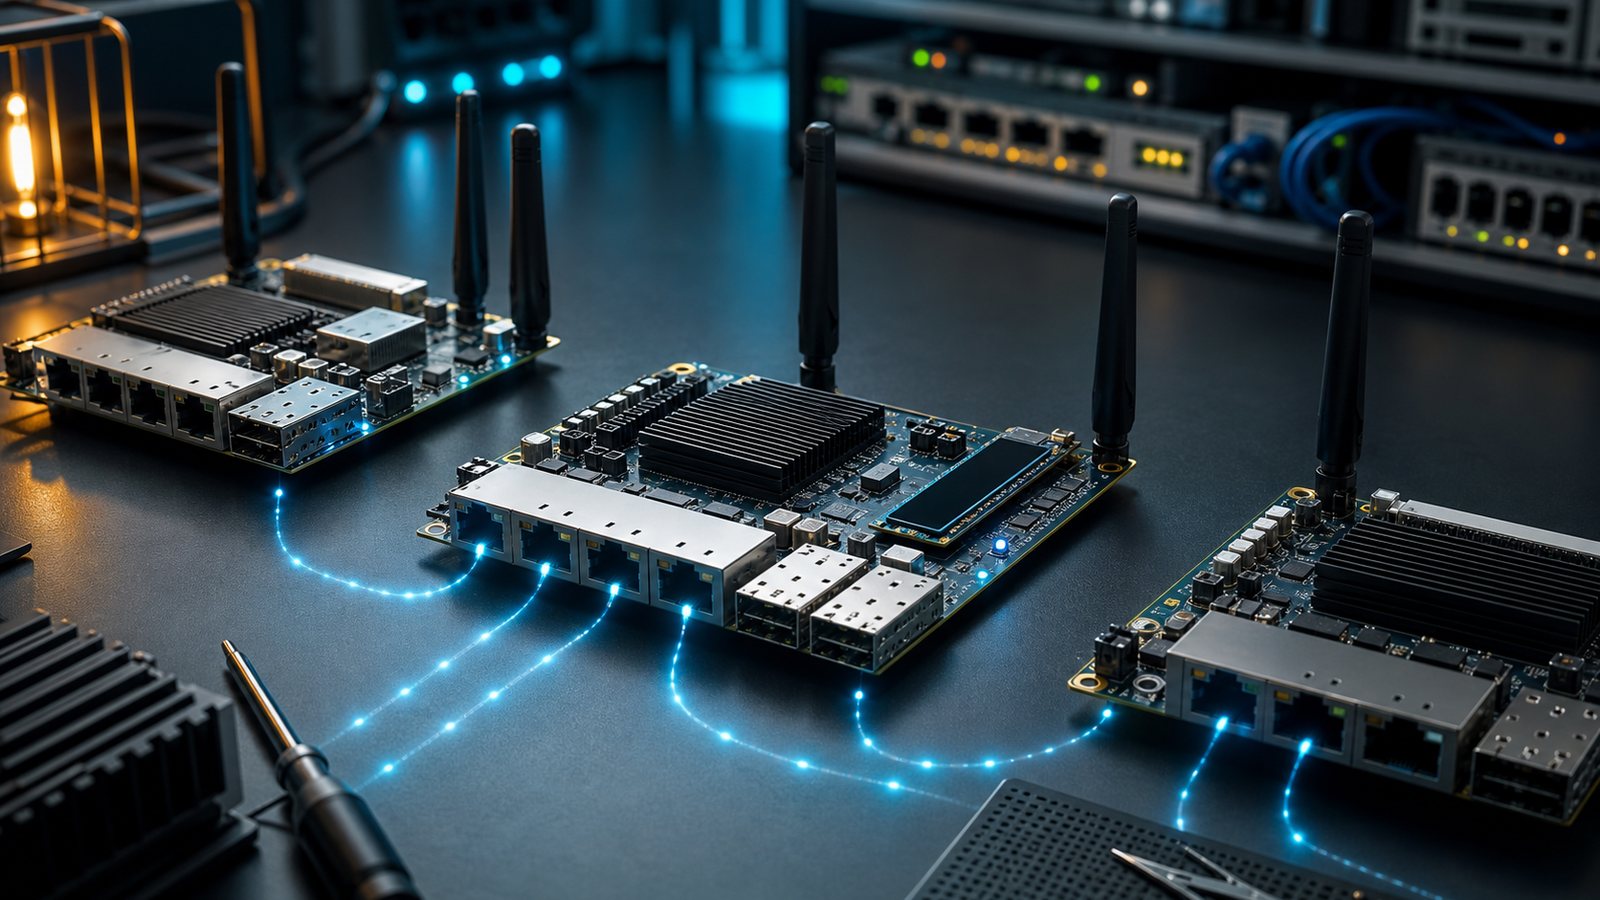
Documentation covers four LeMaker single-board computers. The Banana Pi uses an Allwinner A20 dual-core processor and includes a SATA port, which makes it well suited to network storage and home server roles. The Banana Pro builds on that foundation with onboard WiFi, Bluetooth, and a microphone input for multimedia projects.
The HiKey is an ARM Cortex-A53 octa-core development board with HDMI and PCIe, designed primarily for Android and mainline Linux work. The HiKey 960 steps up to a HiSilicon Kirin 960 processor with 3GB RAM and a broader I/O set, targeting more compute-intensive development workloads.
Getting started on new hardware
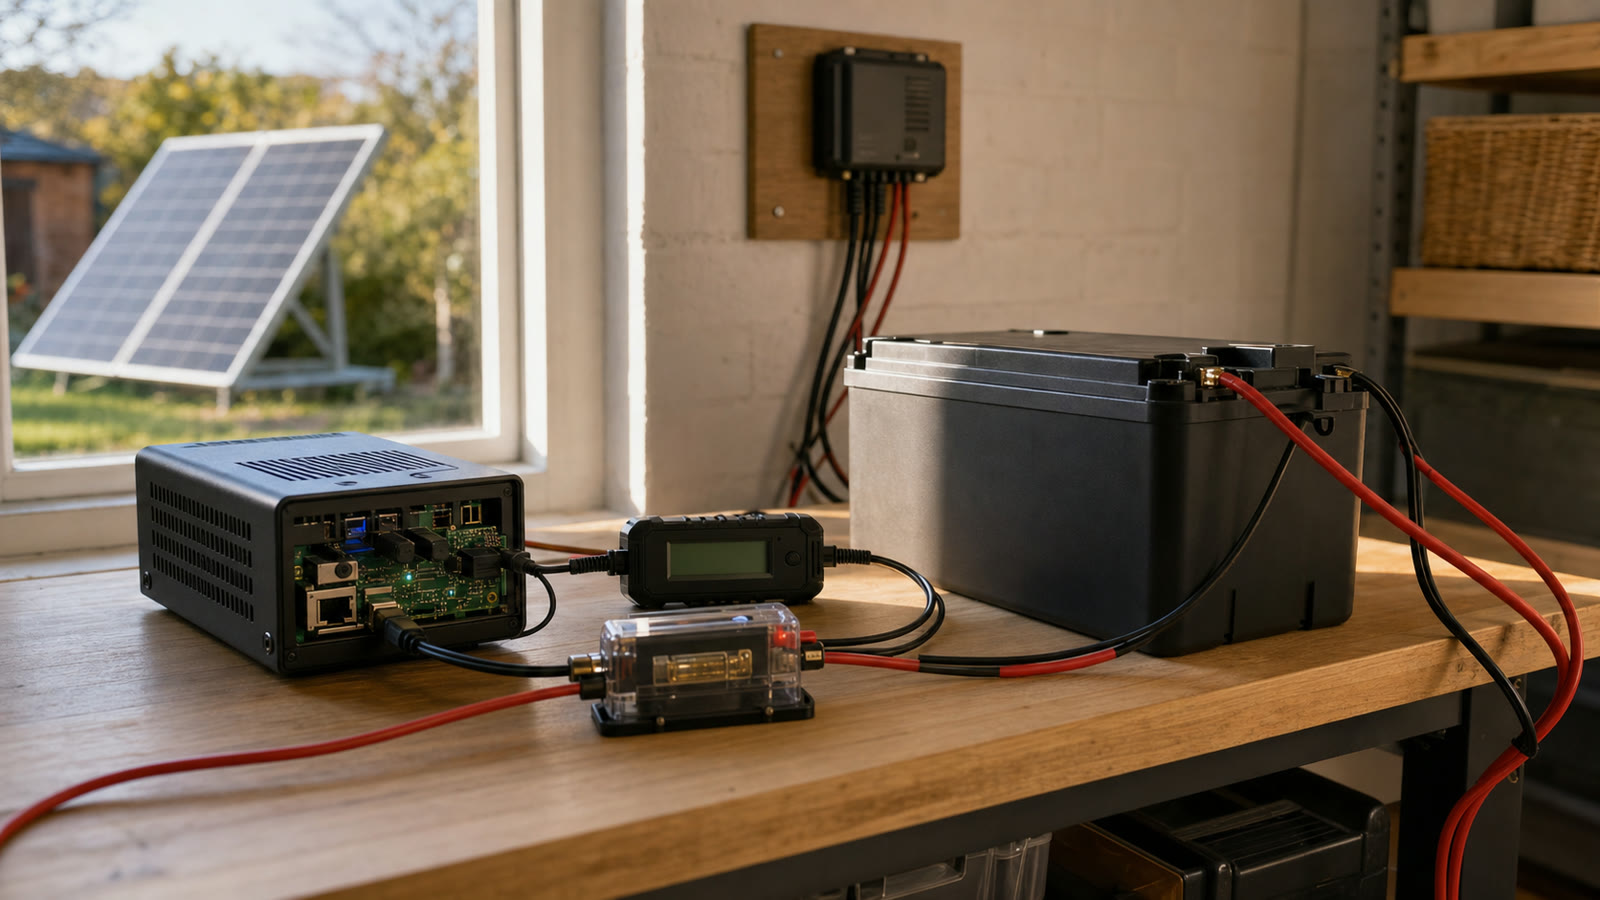
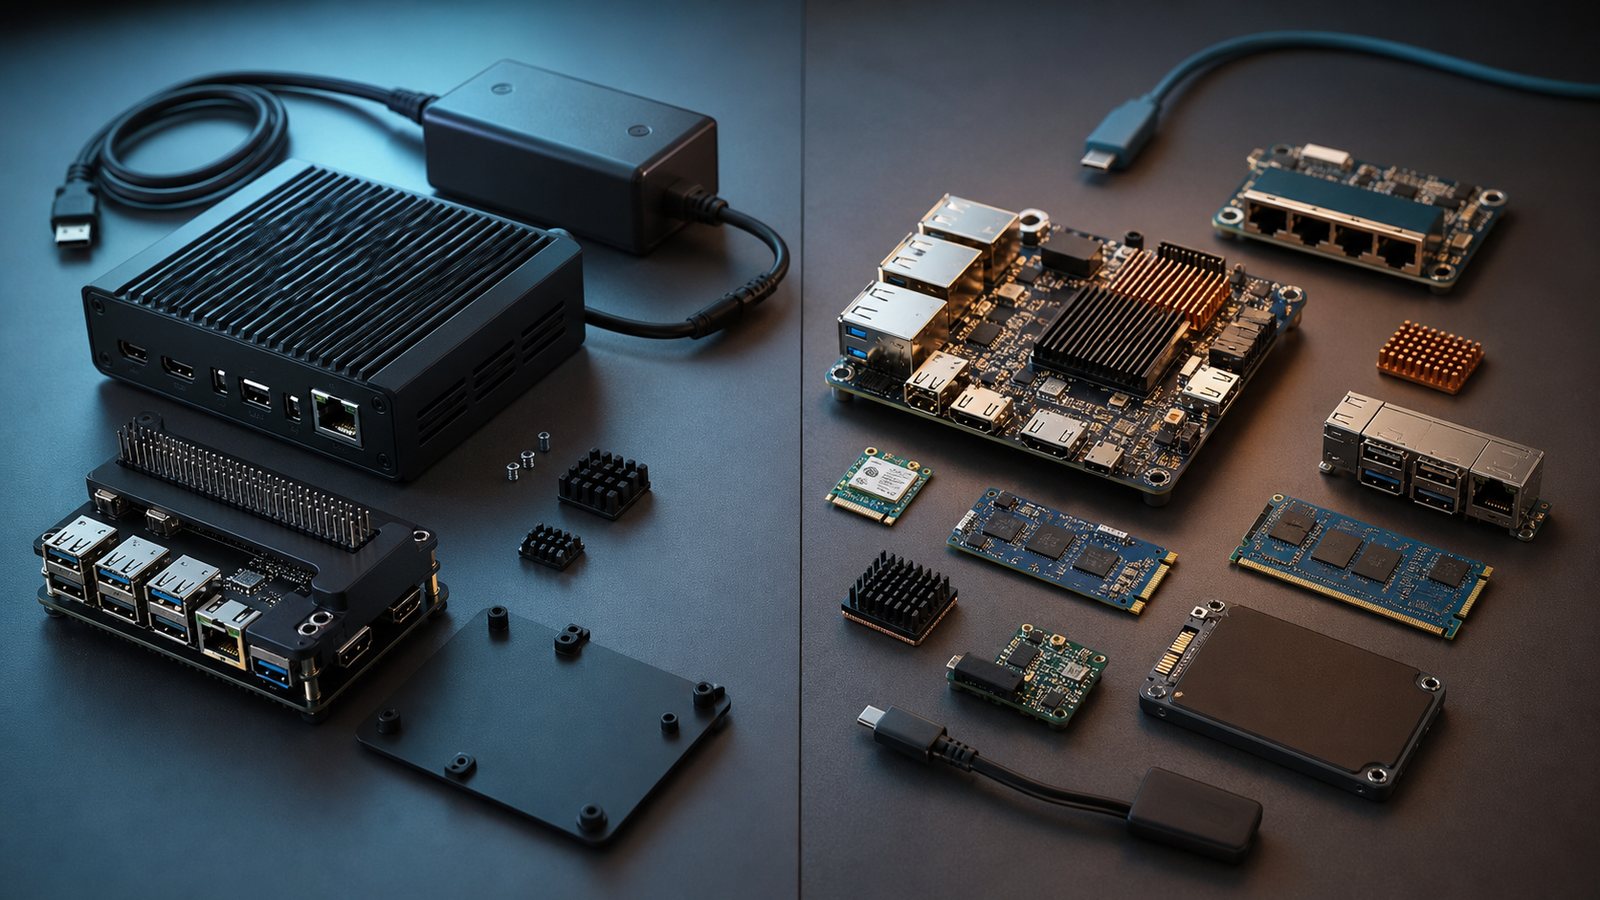
Read the product overview page for your board before anything else - it sets out the capabilities, typical use cases, and hardware requirements that affect every subsequent step. Then gather the physical prerequisites: a quality power supply (5V 2A minimum for Banana Pi and Pro, 5V 2.5A for HiKey boards), a Class 10 or UHS-I microSD card from a reputable brand at 8GB or larger, an Ethernet cable, and optionally a USB-to-TTL serial adapter for low-level debugging.
Once you have the hardware, download your OS image from the downloads hub and verify the checksum before flashing - skipping this step is how corrupted images waste an hour. Flash with Etcher, dd, or Win32DiskImager, specifying the correct target device. On first boot, connect Ethernet before applying power, then watch for LED activity. Access the board via SSH over Ethernet (the IP is assigned by DHCP) or through the debug UART pins with your serial adapter. Apply system updates, reboot under supervision, and confirm stable operation before doing anything else.
What you need before starting
Basic command-line familiarity is assumed throughout - you need to be able to run commands in a terminal and read their output. A working Ethernet connection is required for downloads and updates; WiFi configuration comes later once the system is stable. Beyond software, the two most common causes of unexplained failures are inadequate power supplies and cheap microSD cards. Use a supply rated for the correct voltage and current, and avoid no-name cards - they cause silent corruption that looks like a software problem until you swap the card.
A USB-to-TTL serial adapter is optional but genuinely useful. When SSH is unavailable - which tends to happen at the worst moments - a serial console gives you direct access to boot messages and a login prompt regardless of network state.
First-boot validation checklist
After a successful boot, run these commands to validate system health. Each should complete without errors:
# Confirm kernel version and architecture
uname -a

# Check network interfaces and IP assignment
ip a

# Verify storage mount points and free space
df -h

# Check for failed services
systemctl --failed

# Review boot messages for errors
journalctl -b -p err --no-pager | head -n 50

# Confirm system temperature (if sensors available)
cat /sys/class/thermal/thermal_zone0/temp

# Test DNS resolution
nslookup www.kernel.org
Popular documentation pages
- Downloads hub: OS images and integrity verification
- Banana Pi Quick Start Guide
- Banana Pi technical specifications
- Banana Pro technical specifications
- Boot and storage notes for SBCs
- Basic security defaults for ARM Linux
- Network Configuration for ARM SBCs
- LeMaker Wiki documentation
Troubleshooting quick reference
Most hardware problems trace back to two suspects: the power supply and the storage media. If the board shows no LED activity at all, check the supply's voltage and current rating before assuming anything else, then try a different microSD card. A board that boots but loses network access is usually a cable or DHCP issue - verify the Ethernet connection, check the switch port, and try a static IP if DHCP is unreliable. SSH connection refused typically means the service isn't running; confirm with systemctl status sshd.
Random crashes or filesystem corruption point back to the power supply or the card itself - test replacements for both before looking at software. Slow performance is usually thermal throttling, insufficient swap, or a background process misbehaving; check system temperature and review running processes before assuming the hardware is at fault.
Operating system options
LeMaker boards support several Linux distributions and Android variants. Raspbian for Banana Pi is Debian-based and maintains Raspberry Pi software compatibility, which makes it a sensible default for most projects. Lubuntu for Banana Pi provides a lightweight Ubuntu desktop (see all Ubuntu versions). Arch Linux for Banana Pi is a rolling-release option for users who want current packages and don't mind managing breakage. Android for Banana Pi suits multimedia applications, and Gentoo for Banana Pi is available for those who want a fully source-compiled system.
Reporting issues effectively
For stability problems, suspect hardware before software - power supply quality and storage media are the two most common culprits and the cheapest to rule out. When reporting an issue, document exactly what you did, what you expected to happen, and what actually occurred. Include the exact image name, file size, SHA hash, kernel version, and any error messages verbatim. Run journalctl -b and dmesg to capture diagnostic output and attach the results. Community forums and wikis carry a substantial archive of solved problems; search there before opening a new thread.
Maintenance schedule
A few regular checks prevent the most common long-running failures. Weekly, check disk space with df -h, review failed services with systemctl --failed, and scan error logs. Monthly, apply security updates, verify that backup procedures actually work end-to-end, and test reboot behaviour. Quarterly, review storage health, update any local documentation, and run through a disaster recovery test. Annually, replace microSD cards proactively rather than waiting for them to fail - they degrade with write cycles - and audit running services and access controls.
Frequently asked questions
Which board should I choose for my project?
Banana Pi suits network storage, home servers, and GPIO projects. Banana Pro adds WiFi and Bluetooth for wireless applications. HiKey and HiKey 960 target development and computing-intensive workloads.
What power supply do I need?
Minimum 5V 2A for Banana Pi and Pro, 5V 2.5A for HiKey boards. Use quality supplies with stable voltage; cheap adapters cause mysterious failures.
Can I use any microSD card?
Use Class 10 or UHS-I cards from reputable brands. Minimum 8GB for most OS images. Cheap or counterfeit cards cause corruption and performance issues.
How do I access the board after first boot?
Connect via SSH over Ethernet (default IP assigned by DHCP) or use a USB-to-serial adapter on the debug UART pins.
Why won't my board boot?
Check power supply voltage and current capacity, try a different microSD card, verify the image was flashed correctly, and inspect for LED activity patterns.
How do I update the operating system?
Use the distribution's package manager: apt update && apt upgrade for Debian/Ubuntu, pacman -Syu for Arch Linux.
What if I need GPIO access?
Install the appropriate GPIO library for your language (WiringPi for C, RPi.GPIO for Python) and refer to the WiringPi documentation.
How do I enable WiFi on Banana Pro?
Configure wireless settings in /etc/network/interfaces or use NetworkManager. Ensure firmware is loaded with dmesg | grep brcm.
Can I run Docker containers?
Yes, Docker works on ARM Linux. Install the docker.io package and use ARM-compatible container images.
Where do I find additional community resources?
Visit the LeMaker Wiki for community-contributed guides, forum threads, and project examples.
Going further
Once the basics are solid, there are several worthwhile directions. Custom kernel compilation gives you hardware-specific optimisations that packaged kernels won't include. Fex configuration controls hardware initialisation at a low level and is worth understanding before you start wondering why a peripheral isn't behaving. Setting up maintenance routines early pays dividends on any long-running deployment, and security hardening should happen before you expose any services to the internet.
For recent news, the LeMaker Community Update and the Documentation and Downloads Refresh post cover the latest changes. LeMaker's Statement on Banana Series is worth reading for context on the project's direction. Chinese-language users can access localised documentation at the CN section of the site.
Author: LeMaker Documentation Team
Last updated: 2026-03-26